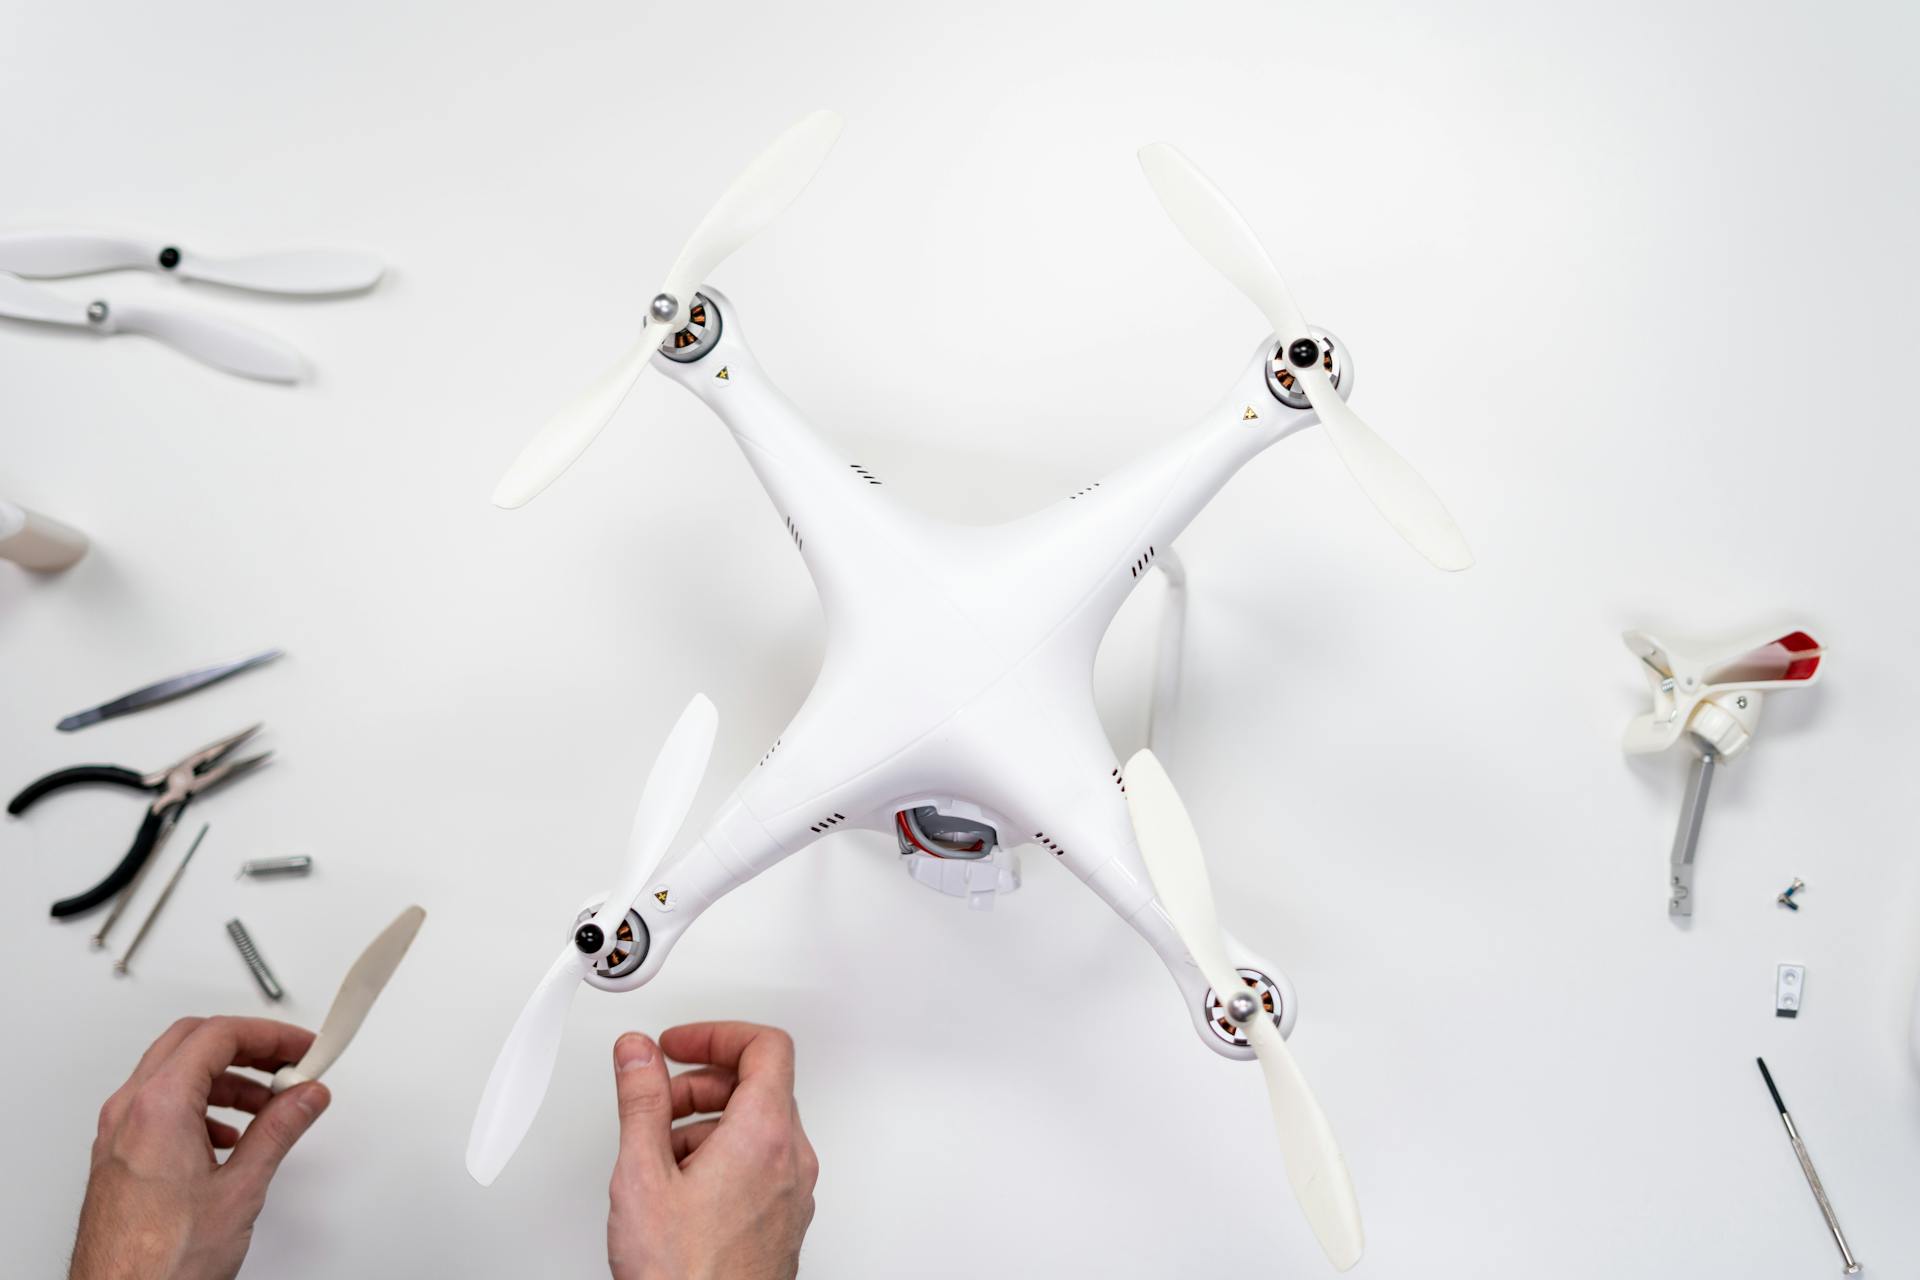
Building a quadrotor from scratch can be a fun and rewarding project, but it requires some careful planning and execution. A good quadrotor design should have a sturdy frame that can support the weight of the motors, electronics, and battery.
You'll need to choose a suitable frame material, such as carbon fiber or aluminum, and make sure it's strong enough to withstand the stress of flight. In our example, we used a carbon fiber frame that weighed only 150 grams.
Next, you'll need to select the motors that will power your quadrotor. Look for motors with a high torque and a high RPM rating, such as the 2300KV motors we used in our example. These motors provide a good balance between speed and power.
The ESCs (Electronic Speed Controllers) are another crucial component of your quadrotor. Make sure to choose ESCs that can handle the current draw of your motors, such as the 30A ESCs we used in our example.
Planning and Preparation
Before you start building your quadrotor, it's essential to plan and prepare carefully. This will help you avoid costly mistakes and ensure a smooth assembly process.
Gather all the necessary materials and tools, including the quadrotor frame, motors, ESCs, batteries, and flight controllers. Make sure you have a clear workspace and a well-ventilated area to work in.
Choose a suitable location for your quadrotor's first flight, taking into account factors such as wind direction and obstacles. Consider the weight and size of your quadrotor when selecting a suitable location.
Remember to follow proper safety protocols when handling electrical components and batteries. Always wear protective gear, including safety glasses and a dust mask, when working with power tools.
Tools Needed to Build
As you start planning and preparing to build your drone, it's essential to gather the right tools for the job. You'll need a soldering iron and solder, as they're required for assembling some of your drone parts.
Take a look at this: Drone Quadrotor
Double-sided sticky tape is a crucial component for any drone build, and it's not just a suggestion – it's required. You'll use it to fix many parts to your frame.
A multimeter, while optional, is a valuable tool that can help you diagnose any electrical problems you may encounter. It's a good idea to have one in your toolbox.
Velcro is another essential item, and it's required for fixing your lipo battery to your frame. Make sure you have some on hand.
Zip ties are also required for securing some drone hardware to the frame, such as ESCs. They're a simple but effective solution.
Heat shrink or electrical tape is necessary for insulating metal bullet connectors and preventing short circuits.
Here's a summary of the tools you'll need to get started:
By having these tools on hand, you'll be well-prepared to tackle the build process and create a reliable and functional drone.
How to Choose Parts?
Choosing the right parts for your drone build can be a daunting task, especially for beginners. It's essential to consider the Thrust to Weight ratio, or TW ratio, as the primary metric for selecting parts.
Parts can be expensive and don't always fit together, so it's crucial to ensure they will work together before buying. This means researching and watching videos to see what others have built and what parts they used.
A good place to start is by watching YouTube videos and RC-themed channels, such as FliteTest, which offer a wealth of information for both beginners and pros. However, not all videos are created equal, and some may not be suitable for your budget.
To avoid overspending, it's a good idea to look for tutorials and videos that specify the parts needed for a build. For example, the video from rctestflight was a great resource for the author, as it mentioned all the parts needed for the build.
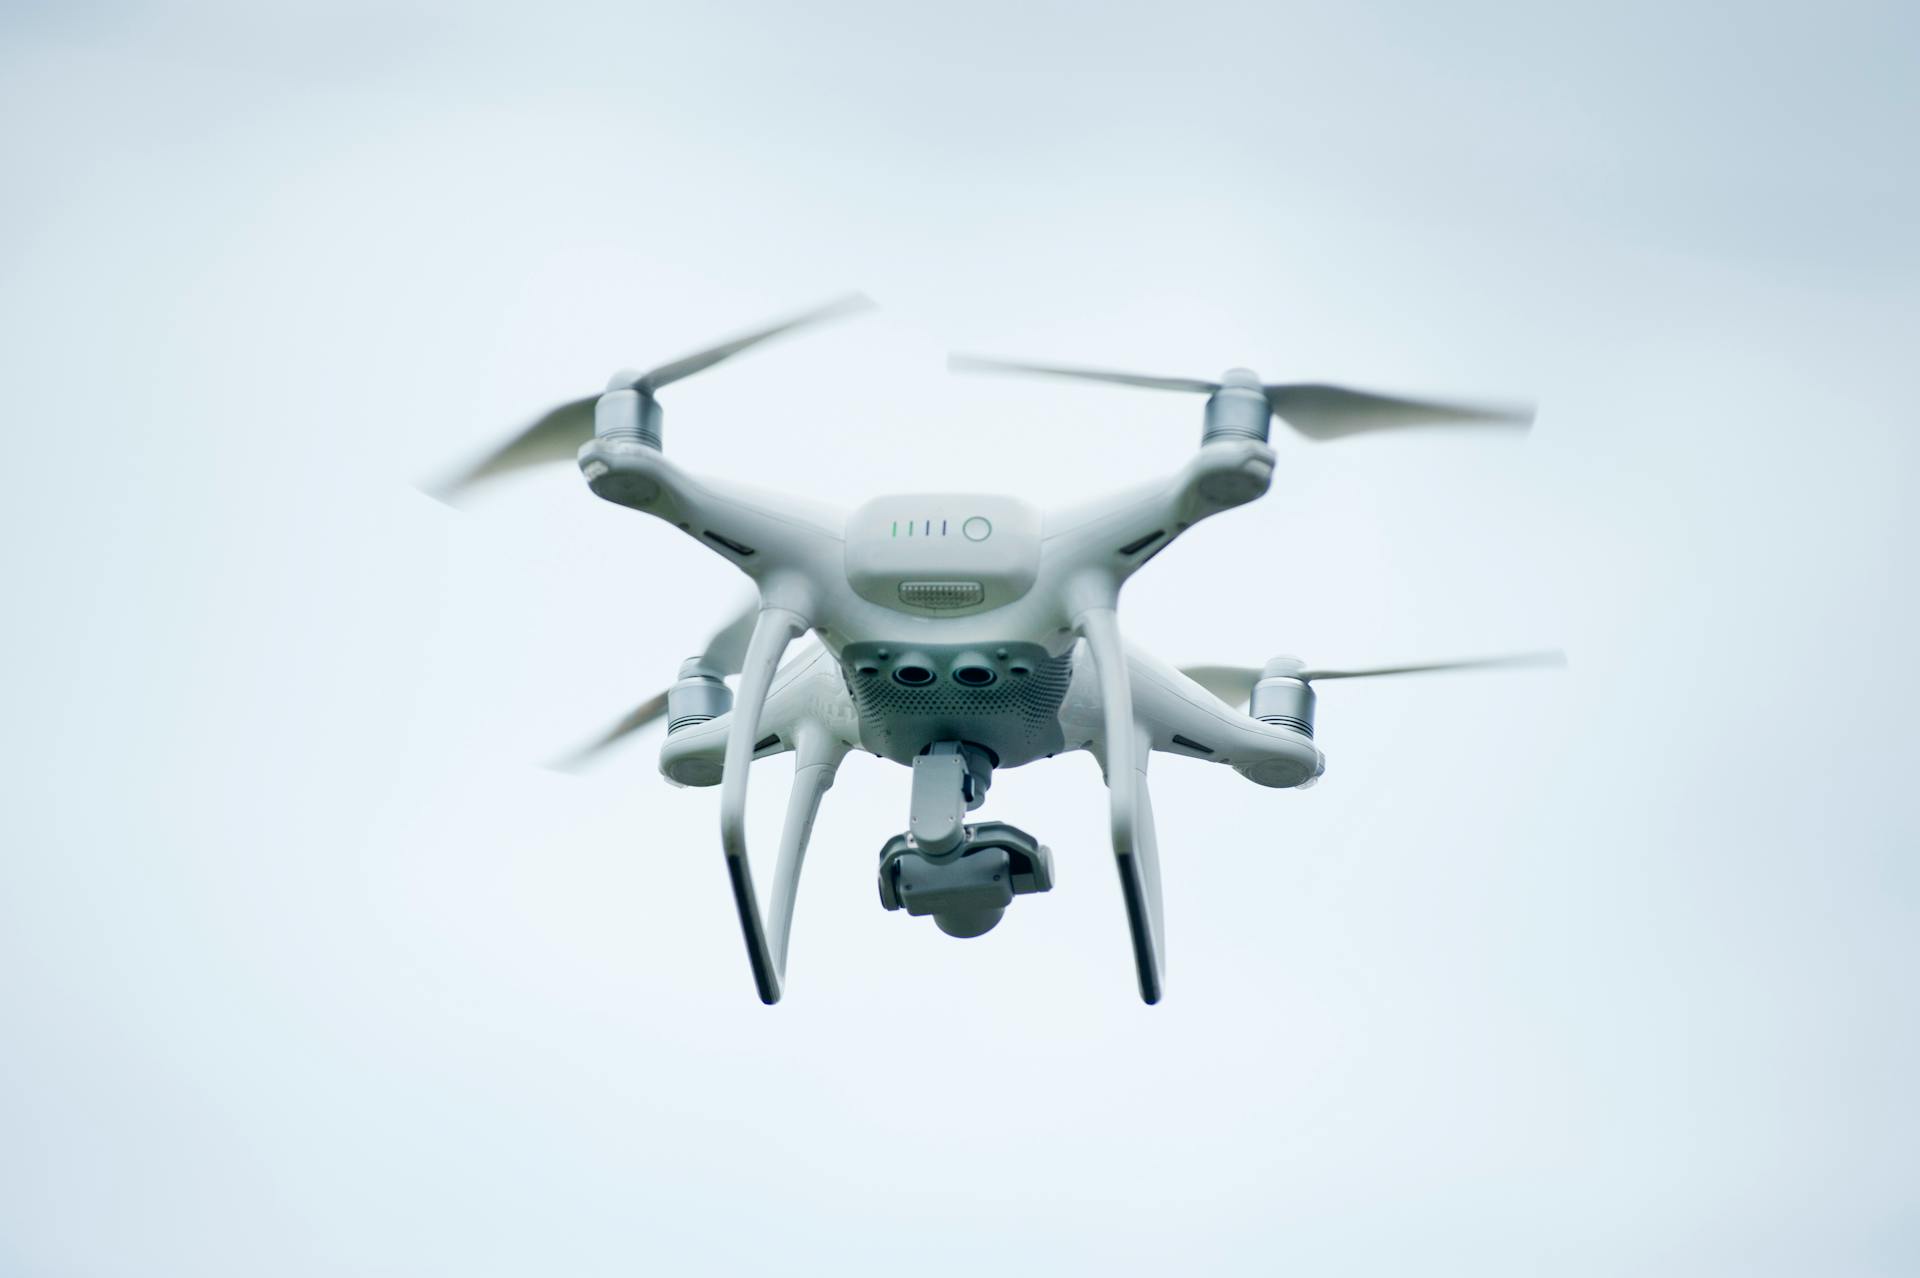
When selecting parts, make sure to consider the weight and power requirements of your drone. A good rule of thumb is to choose parts with a high TW ratio, which will ensure your drone can lift the weight and perform well.
Here's a rough guide to help you get started:
Keep in mind that these are rough estimates, and the actual TW ratio will depend on the specific parts you choose. It's also essential to consider the weight and power requirements of your drone when selecting parts.
As the author notes, it's also a good idea to have some basic tools and materials on hand, such as cable ties, electrical tape, and a soldering iron. This will make the build process much easier and more enjoyable.
By following these tips and doing your research, you'll be well on your way to choosing the right parts for your drone build.
Components
A quadrotor DIY project requires several key components to get started. A quadcopter is a drone with four motors, while an octocopter has eight motors.
You'll need motors, ESCs (electronic speed controllers), a battery, and a flight controller. The motors can be either clockwise (CW) or counter-clockwise (CCW), and it's essential to place them on the correct arms according to the diagram.
Here are the basic drone parts you'll need:
- Quadcopter: A drone with four motors.
- Octocopter: A drone with eight motors.
Some of these components can be purchased from online retailers like Hobbyking, but make sure to buy from the correct warehouse to avoid long shipping times and high fees.
Components
When choosing components for your quadcopter, it's essential to consider the right parts to ensure your drone flies smoothly.
The first thing to consider is the motors, which should be able to lift the weight of your drone. In the example of building a drone with chosen parts, it's recommended to screw the motors to the end of each arm, making sure not to over-tighten.
You'll also need to choose the right ESCs (Electronic Speed Controllers) that will work with your motors. These should be fixed to your drone's arms, one on every arm, and secured with zip ties.
When selecting ESCs, consider the weight and thrust of your drone. The example mentions that the drone's all-up weight (AUW) is just above 800g, and with each motor pushing out up to 740g of thrust.
A good way to ensure compatibility is to research and watch videos from experienced builders, such as the channels mentioned in the article, like Joop Brokking and Electronoobs.
Here's a list of some key components to consider:
- Motors
- Electronic Speed Controllers (ESCs)
- Battery
- Power Distribution Board (PDB)
- Frame
- Flight Controller
It's also important to consider the degrees of freedom (DOF) of your drone, which refers to the number of independent factors that can be assessed. This will help you design and build a stable and controllable drone.
Remember to research and choose components that are compatible with each other, and don't be afraid to ask for help or advice from more experienced builders.
Basic Parts
A drone is made up of several basic parts, which can be categorized into different types.
A quadcopter is a drone with four motors, while an octocopter has eight motors.
The frame is the base of the drone, and it's available in different types, including quadcopter and octocopter frames.
Here are some common drone parts:
- Motors: 4-8 motors, depending on the type of drone
- ESC (Electronic Speed Controller): controls the speed of the motors
- Battery: powers the drone
- Flight control board: manages the drone's flight
- Frame: the base of the drone
- Propellers: attached to the motors
Some basic tools are required to build a drone, including a soldering iron, solder, and double-sided sticky tape.
Propellers (Props)
Propellers (Props) are a crucial component of any drone, and understanding their properties can help you make informed decisions when building or upgrading your drone.
Propellers have a four-digit number, such as 8045 or 1045, which indicates their diameter and pitch. The first two digits represent the diameter in inches.
The last two digits represent the pitch, in inches, which affects how much air is pushed down. A higher pitch means more air will be pushed down.
Qualitatively, the higher the pitch, the more air will be pushed down, but it's also less intuitive to understand than diameter. A prop with a pitch of 0 inches would be like spinning a butter knife.
To understand pitch, consider an analogy with screws: if you turn a screw one rotation into a piece of wood, it will dig itself into the wood at some constant depth. A prop with a pitch of 4.5 inches, like the 8045 example, would dig into air by 4.5 inches per rotation.
Higher pitch props are normally used with low KV motors since they provide more torque, and can spin slower since they're pushing a lot of air per unit of rotation. Lower pitch props are used with high KV motors since they spin much faster, and have to push less air per rotation.
Power Distribution Board (PDB)
The Power Distribution Board (PDB) is a crucial component in your quadcopter build, responsible for connecting your main electrical components. It's where your ESCs and battery connector will be soldered to.
The PDB provides power to everything attached, so your ESCs will be drawing their current from it. This is a key connection point in your quadcopter's electrical system.
You'll need to solder your ESCs and battery connector to the PDB, making sure all connections are secure and won't cause any shorts. This is a critical step in ensuring your quadcopter's electrical system functions properly.
Here's a quick rundown of the key components you'll need to connect to your PDB:
- ESCs (Electronic Speed Controllers)
- Battery connector
Make sure to follow proper soldering techniques to ensure a strong and reliable connection.
Battery Mounting
Mounting your battery securely is crucial for a stable and efficient flight. You'll want to find a spot that balances weight distribution, especially if you plan on attaching a camera.
The undercarriage is often the best place to mount the battery, directly in the center, as it ensures even weight distribution between the four motors. However, if you're planning to attach a camera, you may want to consider placing the battery on the back to counteract the moment.
Velcro is a great option for holding the battery in place, as it's easy to use and won't damage the battery or the quadcopter if you need to move it. Cable ties are not recommended, as they can be a hassle to detach and reattach.
Here are some battery mounting options to consider:
- Velcro: Stick some velcro on all of your batteries, and cut a similar sized strip and stick it on the quadcopter wherever you’re planning on mounting the battery.
- Foam: Cut a strip of foam (2mm – 3mm thick) and stick it wherever you plan on mounting the battery, as described above.
Remember, if you're not using an HD cam, try to keep the battery as close to the center of your quadcopter as possible. If you are using an HD cam, the battery will likely need to be placed behind the camera.
Discover more: Dash Cam Diy
Assembly
Assembling the frame of your quadrotor can be a bit of a challenge, but with the right tools and a little patience, you'll be flying in no time. The first step is to design and assemble the frame, which can be done using a computer-aided design (CAD) software like AutoDesk Inventor Professional.
You'll need to create a design that suits your needs, taking into account the size and shape of your quadrotor. Some frames are designed to be more durable and can withstand crashes, while others are lighter and more agile. The DWG files for your design can be imported into AutoCad to laser cut the pieces.
The bare frame weight can vary depending on the design and materials used, but a typical weight is around 98 grams. To assemble the frame, you'll need to use a combination of adhesives and mechanical fasteners, such as zip ties. The instructions for assembling the frame can be found in the manufacturer's manual or online.
Here's a list of the basic steps to assemble the frame:
- Solder bullet connectors to your motors and ESCs
- Solder the ESCs and battery connector to PDB
- Fix your PDB somewhere in the middle of the drone
- Fix your ESCs to your drone’s arms
- Screw the motors to the end of each arm
Remember to double-check your work and make sure everything is securely attached before moving on to the next step. With a little practice and patience, you'll be able to assemble your quadrotor frame with ease.
What Next
So you've got all your parts, now it's time to set up the BetaFlight configurator. This is where you'll fine-tune your Quadcopter's settings and make sure everything is working together smoothly.
First, you'll need to mount your propellers. Propellers marked "R" go on clockwise spinning motors, while unmarked or "L" marked propellers go on the counter-clockwise spinning motors.
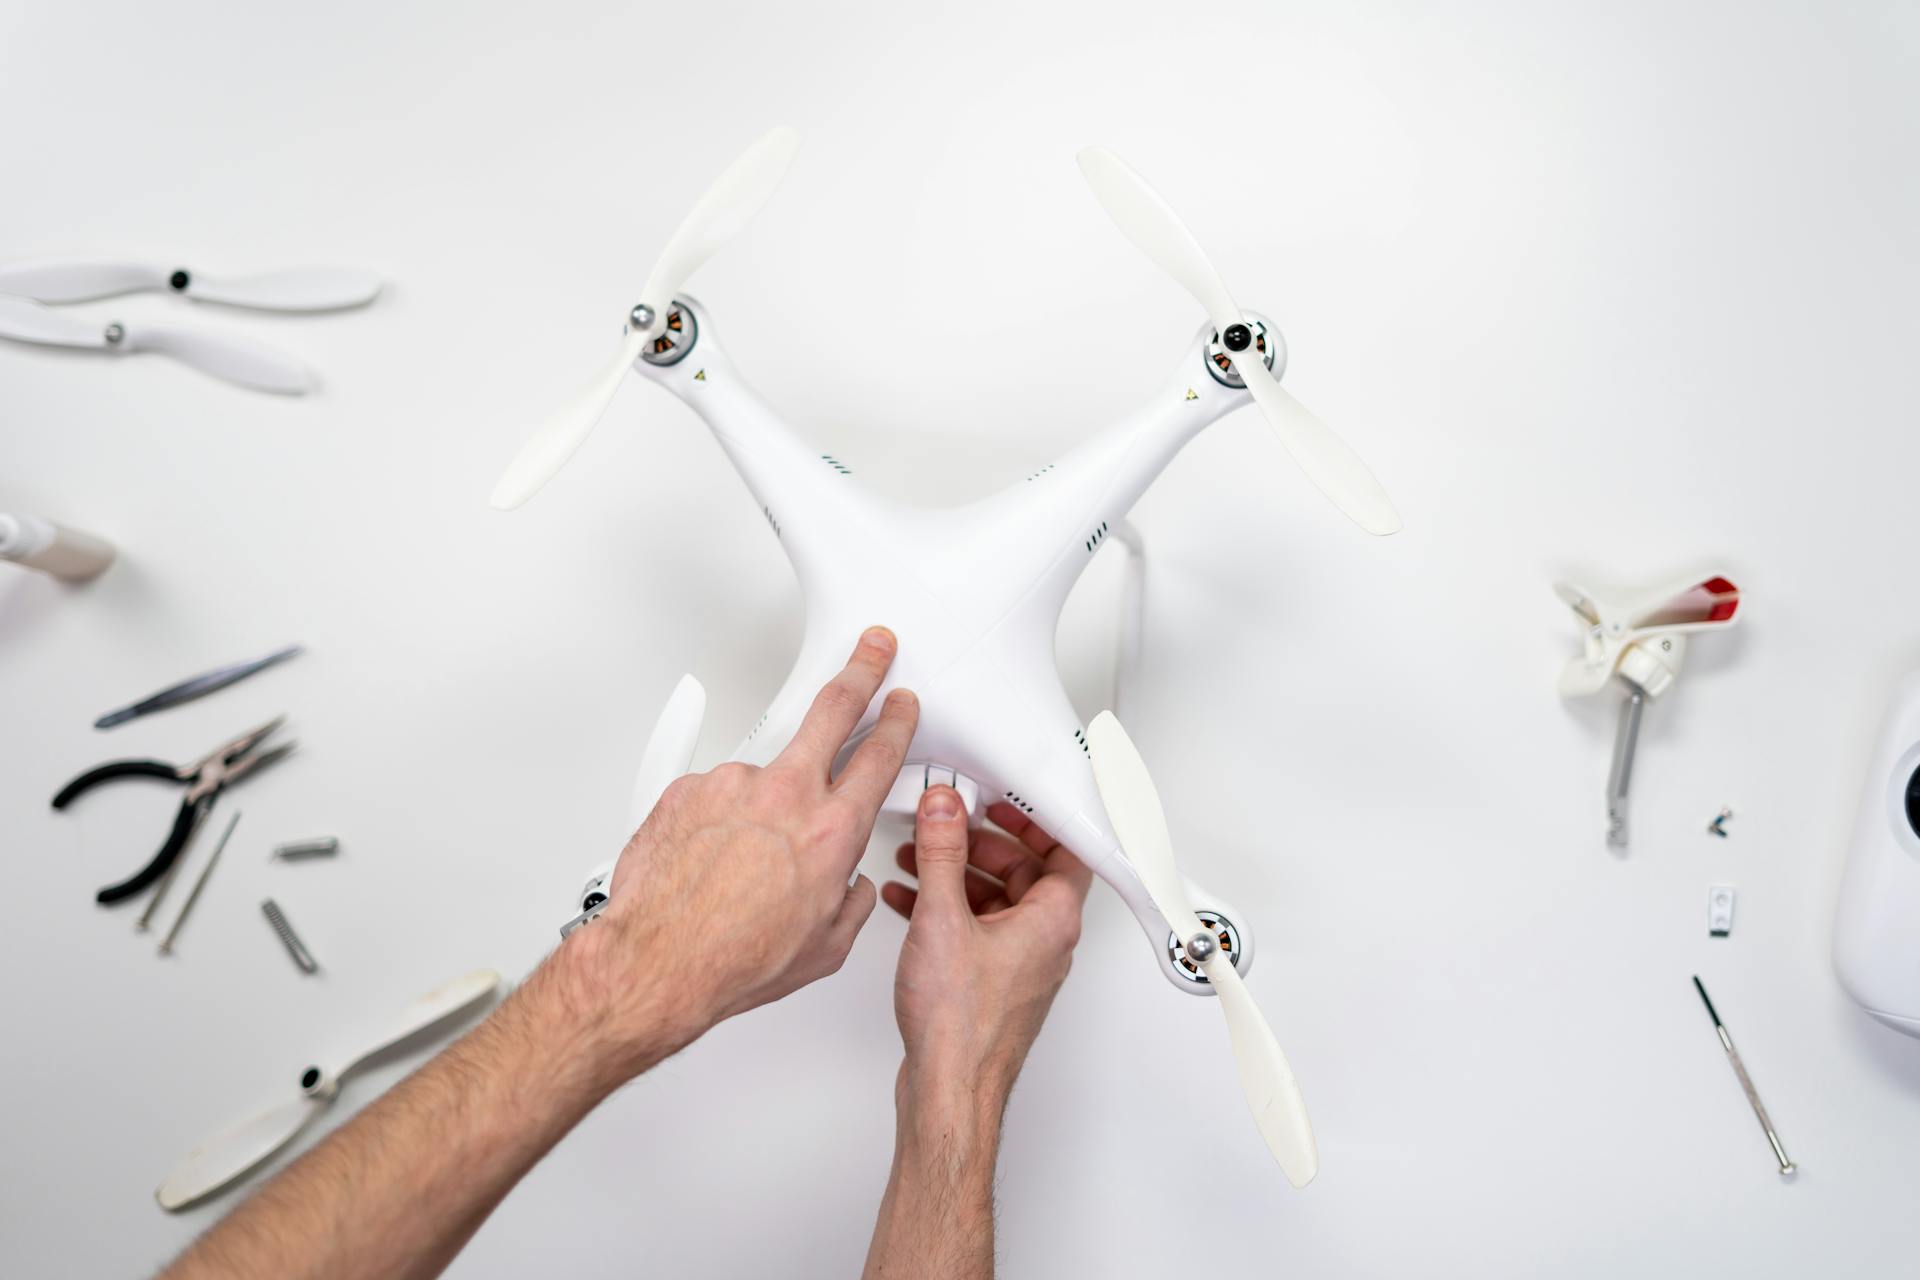
Next, you'll want to make sure you have all the necessary tools and materials. You'll need a few things you might already have lying around, such as cable ties, electrical tape, a soldering iron, glue gun, screwdriver, and wire strippers.
Here are some essential tools and materials you'll need:
- Cable Ties
- Electrical tape
- Soldering Iron & Solder
- Glue Gun
- Screwdriver
- Wire Strippers
- Some big electrical wire, that can stand 40A
Make sure to order your parts from the correct warehouse to avoid any delays or extra costs. If you're ordering from Hobbyking, make sure to choose the UK or local warehouse to avoid long shipping times and high fees.
Mount the Pdb
Mounting the PDB is a crucial step in assembling your drone. Use zipties to secure it to the bottom plate of the quadcopter.
The PDB is where your main electrical components will connect. You'll solder your ESCs and battery connector to it.
To feed the sense wire, use a hole in the PDB and route it up to the top of the quadcopter. Don't forget to plug the power wires of the ESC into the PDB.
Once you've mounted and wired the ESCs, you can plug the three wires coming out of the other side of the ESC into the motor. It doesn't matter which way you connect them, as you'll adjust them later if necessary.
Feed the signal wires of the ESC to the top of the quadcopter and insert the top plate. To dampen vibrations, glue 30dB earplugs to the top plate.
Building Assembling
Mounting motors on the arms can be a bit tricky, especially if you're using motors with different locknuts. If you're using all CW locknuts, you can ignore this step, but if you're using 2 sets of different motors, you need to mount the CCW locknut motors on the arms where the motors will spin CW, and mount the CW locknut motors on the arms where the motors will spin CCW.
To check which locknut is correct, loosen the nut all the way, grip it between your thumb and forefinger, and turn the motor in the direction it's supposed to spin. If the nut tightens down, it's the right one.
Mounting motors requires some precision, so make sure to eyeball it to see if the longer screws are suitable for your 4mm frame. You'll usually need the longer screws, and you'll need to dip the bottom in threadlocker before screwing it into the motor.
You only need two screws to hold a motor in place, but if you want, you can do all four. Once both screws have caught the threads, tighten them all the way.
If you're using foam to mount the battery, cut a strip of foam (2mm – 3mm thick) and stick it wherever you plan on mounting the battery. When you tighten down the battery using a battery strap, there is a lot of friction between the battery and the foam, so it won't move.
Here's a quick rundown of the steps to assemble the frame:
- Connect the power distribution board to the frame using screws
- Attach the ESCs to the drone's arms with cable ties
- Place the top plate of the frame and secure it with zip ties
- Mount the motors to the end of each arm and tighten them with screws
- Connect the three wires coming out of the BLDC motor to the three wires coming out of the ESC
Remember to adjust the directions of the motor rotation later on, as it's not necessary to attach the propellers at this point in time.
Flight Fail
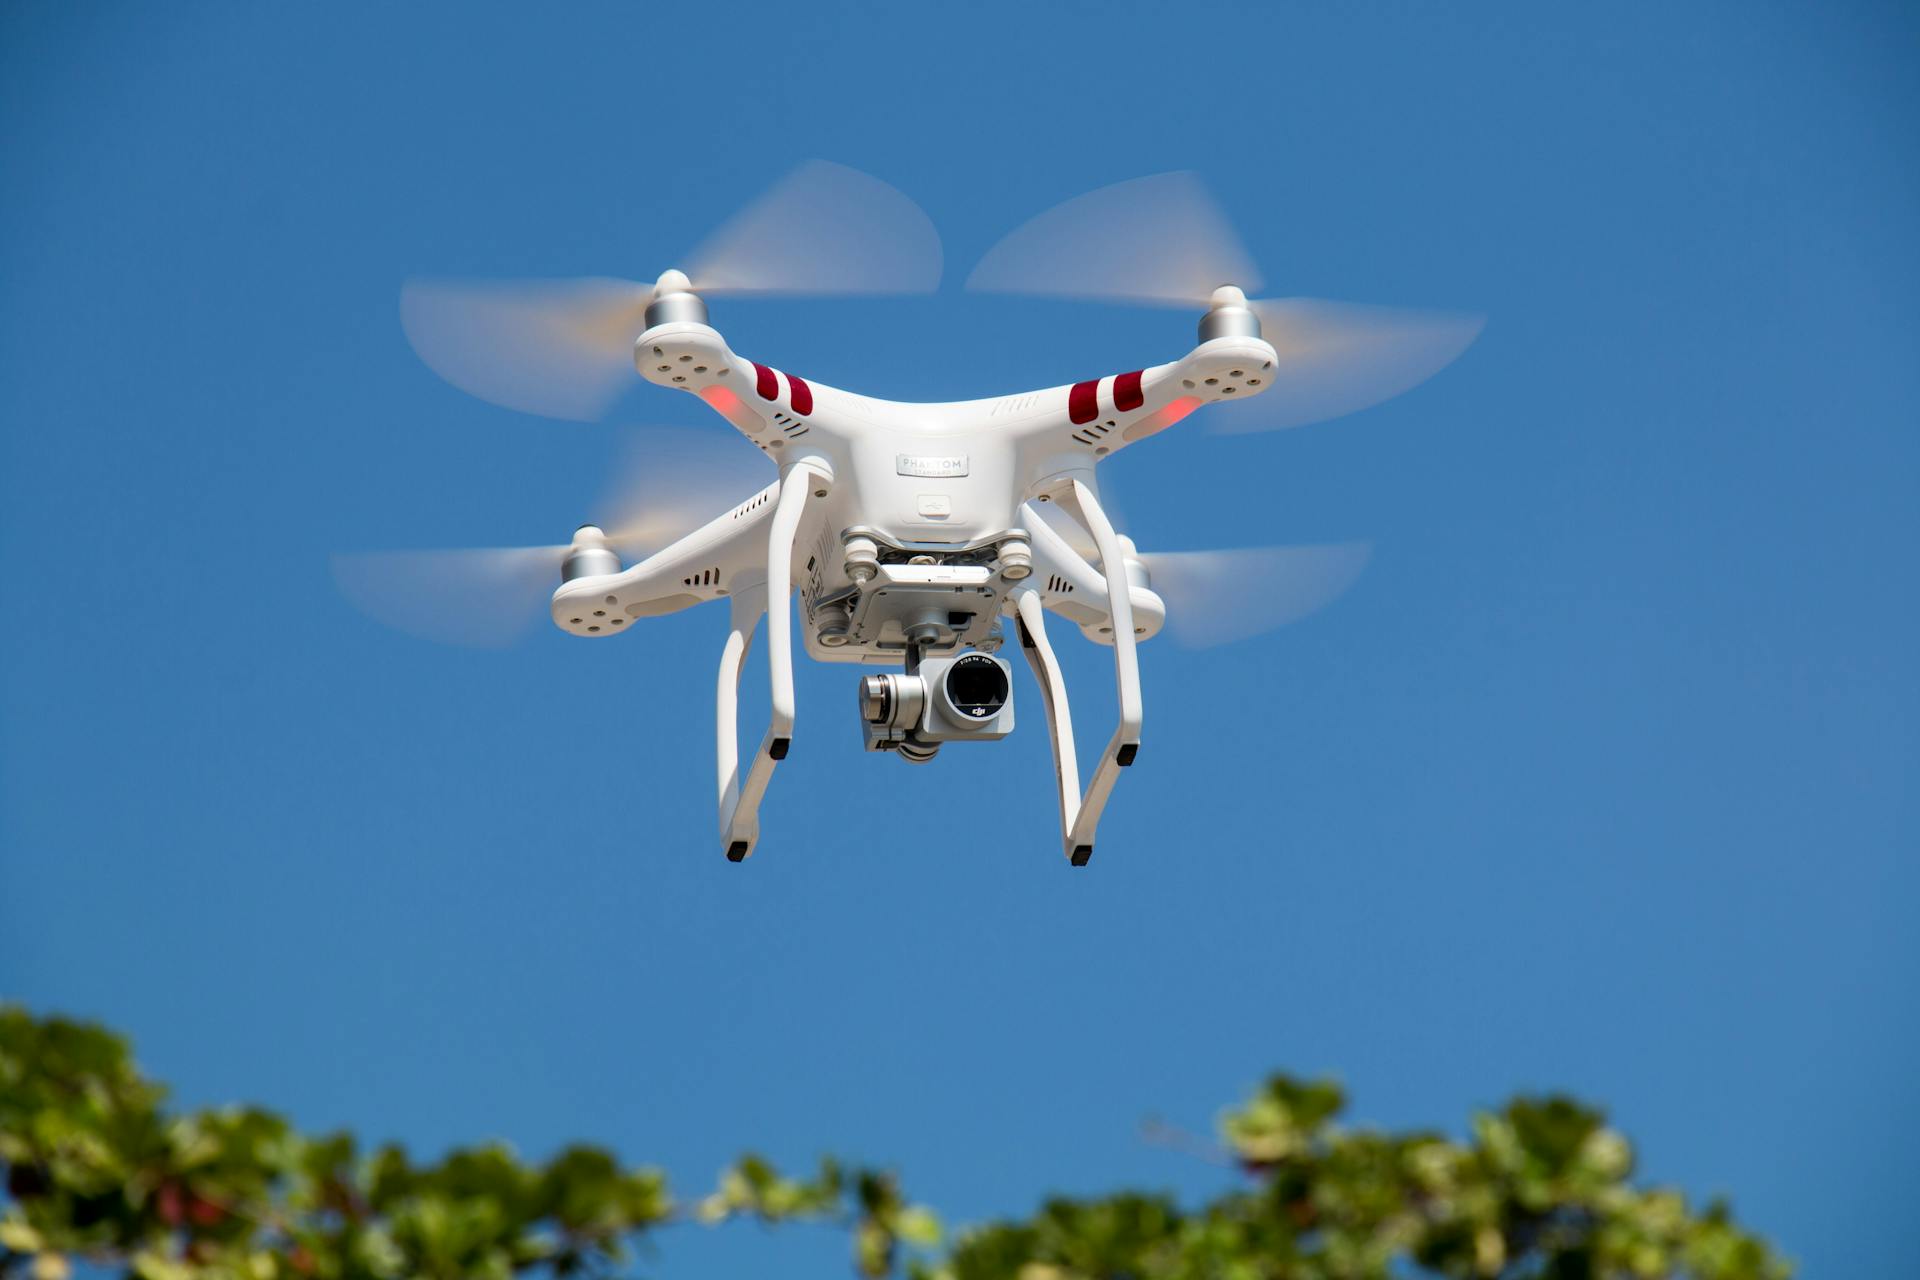
Discharged batteries can prevent your drone from taking off, so it's essential to check the voltage before flight, preferably above 12 volts.
A whole day of PID tuning isn't enough if you don't check your work, as I learned the hard way with a wobbly flight.
Bad connections can cause your drone to power off and on repeatedly, resulting in a failed flight.
Decreasing the P gain of the roll can solve oscillation problems, but if the drone is oscillating rapidly, it's likely the fault of the D gain.
A failed flight can also damage your propellers, so be sure to keep a spare set on hand.
Calibration and Testing
Calibration is a crucial step in getting your quadrotor up and running. You'll need to calibrate the motors and the magnetometer.
Calibrating the motors is important because it tells the ESCs what the throttle range is, and if you don't do it, your motors may not start at all or may not utilize the full range of the throttle correctly. The standard timing for an ESC is 50 Hz, which is way too slow for a drone, so calibration will scale it up to 250 Hz.
To calibrate the motors, upload the "motor_calibrate" code to your Arduino and follow the procedure: lower your throttle to minimum and wait for a confirmation beep, then check if the motors are spinning in the right directions.
If any motor is not spinning in the right direction, simply swap any two of the wires connected to the ESC and the motor will change direction.
Here are some steps to follow during motor calibration:
- Upload the "motor_calibrate" code to your Arduino.
- Lower your throttle to minimum and wait for a confirmation beep.
- Check if the motors are spinning in the right directions.
- Swap any two of the wires connected to the ESC if necessary.
Gps
GPS modules can be bought for pretty cheap, and most drone use GPS modules come equipped with a magnetometer as well.
You want to build a drone with a good GPS module, and look for one that has the M8N u-blox chip, which are much better than some of the other GPS modules available on Amazon, and cost around the same.
GPS modules typically use the UART or I2C protocol.
If your GPS is too close to the electronics, it could be causing incorrect readings producing some funny flight, so you should have your GPS/magnetometer module lifted up in the air to get away from the magnetic fields being produced by your drone’s electronics.
Telemetry
Telemetry is a crucial component for any drone, and it's essential to include it in your build. You'll need to attach one module to the drone and another to a computer, which is usually plug and play.
This setup allows for wireless communication between the drone and the computer, often referred to as a ground control station (GCS). The GCS can send and receive information with the drone.
The GCS can track the drone's position on a map, determine its speed, and monitor battery voltage levels. It can also display other important information.
With telemetry, you can command the drone remotely, eliminating the need for an RC controller to fly it. This is a game-changer for drone enthusiasts who want to fly without the hassle of a controller.
Calibrating Electronic Speed Controllers
Calibrating Electronic Speed Controllers is a crucial step in ensuring your drone's motors run smoothly and efficiently. Calibration allows the ESCs to scale up their timing to 250 Hz, which is necessary for a drone's high-speed operation.
To calibrate your motors, you'll need to upload the "motor_calibrate" code to your Arduino and follow a simple procedure. After hearing the final beeps, lower your throttle to minimum and wait for a confirmation beep.
It's essential to check if the motors are spinning in the correct directions: top left-counterclockwise, top right-clockwise, bottom left-clockwise, and bottom right-counterclockwise. If any motor is spinning incorrectly, you can swap the wires connected to the ESC to change the direction.
Calibrating the magnetometer is also necessary, as it will allow for accurate yaw angle values. Record the final two numbers, which are your offset values, and insert them into the final flight controller code when you upload it.
Here are the steps to follow:
- Upload the "motor_calibrate" code to your Arduino
- Lower your throttle to minimum and wait for a confirmation beep
- Check the motor directions and swap wires if necessary
- Calibrate the magnetometer and record the offset values
By following these steps, you'll be able to calibrate your ESCs and ensure your drone operates smoothly and efficiently.
PID Tuning
PID tuning is a crucial step in getting your quadcopter to fly nicely. You'll need to make the P-gain equal to 1.00 to start.
Increasing the P-gain, either by whole or half number intervals, will make the quadcopter more responsive and increase its "kick". This determines how much the quadcopter speeds up its motors when there is little tilt.
As you increase the P-gain, you'll need to keep an eye out for when the quadcopter starts to overcompensate and wobble. This is a sign that you've gone too far.
Increasing the D-gain, in intervals of about 0.5, will help dampen the P-gain. This is useful for resisting sudden movements, such as a human hitting the drone or a gust of wind.
You'll know you've found the right balance when the quadcopter starts to vibrate, then you'll need to decrease the D-gain by around 0.5.
Increasing the I-gain, in intervals of 0.001, will help correct small quadcopter drift and get it to return to zero degrees.
Final Steps
You've made it to the final steps of building your quadrotor DIY project! By now, you've learned all the parts required to fly a drone, how to find your own parts to make your own drone, and how to assemble the parts you've chosen.
Now that you have a solid understanding of the drone anatomy, you can start building your own custom quadrotor. The beauty of this project is that the anatomy of a drone is the same for any type of drone you'd like to build, whether it's a small FPV quad or a larger octocopter to lift a payload.
Here's a quick recap of what you've learned:
- All of the parts required to fly a drone
- How to find your own parts to make your own drone
- How to assemble the parts that you have chosen
With this knowledge, you're ready to start building your own custom quadrotor. Remember, this guide is intentionally generic, so you can use it as a reference for any type of drone you'd like to build.
Frequently Asked Questions
What is the difference between a quadcopter and a Quadrotor?
There is no difference between a quadcopter and a quadrotor, as both terms refer to the same type of uncrewed aircraft with four rotors. The terms are often used interchangeably, but "quadcopter" is more commonly used in consumer and hobbyist contexts.
Is it cheaper to build your own drone?
Building a drone yourself can be cheaper, but it depends on the individual components you choose, and it may not always be the most cost-effective option. Consider the costs and benefits before deciding to build or buy a drone.
How high can a DIY drone fly?
In the US and many countries, DIY drones are restricted to flying no higher than 400 feet above ground level to avoid conflicts with manned aircraft. Check local regulations for specific altitude limits and safe flying practices.
How to make the cheapest drone?
To build the cheapest drone, start with basic components like 2 pieces of wood or plastic, 4 motors, and a simple flight controller system. You can then add electronic speed controllers, a power distribution board, and a remote control system to create a functional drone.
Featured Images: pexels.com
